Tuesday, July 31, 2012

Damask Nightstand Makeover

I have been in need of a new nightstand for quite some time now. I knew I wanted something with a bit of character that I could refinish and make my own rather than spending a fortune on something my style!


I found this ugly, beat up, brown night stand on the side of the road. Once I knew it wasn't missing any pieces, and the structure was decent, I knew I had to take it home! The size was crucial, as there is a minimal space for a nightstand by my bed.


I started by sanding the entire piece by hand. I didn't go crazy, but definitely made sure the texture was rough and the "glow" on the wood was removed. I then used one coat of spray primer all over so that the paint would stick!


Since the nightstand was originally missing a knob, I purchased a gem style knob for under $4.00 at Home Depot. I then picked up a high-gloss, black spray paint for about $8.00 (one can was enough for two coats.) I covered the piece completely, making sure to remove the drawer and paint it separately. Once I completed two coats of black, I left the nightstand to dry for about six hours.


I wanted to break up the black a bit more so I chose a chic wrapping paper (any style of paper would work) to line the inner shelf of the nightstand, as well as line the drawer with the same paper- a trick my mom taught me! I used a spray adhesive to make sure the paper would stick well.


After making sure the black paint was completely dry, I used painters tape to divide the top of the nightstand into stripes. I wanted to break up the black and add a modern touch. You can never go wrong with black and white stripes! I used a brush and white paint from a can to paint in between the taped lines. I chose to use a brush for this step so that I could avoid spraying white spray paint all over the already finished black coat.


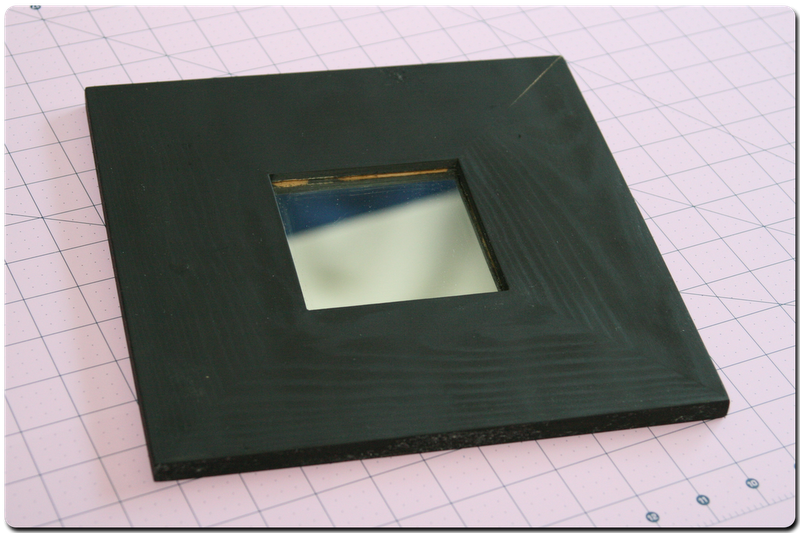
Lastly, I used a square glass table top, which I also
found- to protect the top of the stand and make it look just a little more finished!


I am obsessed with this functional, and beautiful nightstand. Now I have a creative piece to remember, rather than an expensive price tag! The entire piece was done & fabulous for under $20.00, how could you beat that?!


Sunday, July 29, 2012

DIY Recycled Chandelier

I wanted to make a square style chandelier and I was inspired by these simple square mirrors from Ikea. They were like $2.00 a piece and I had a ton of them. Some of them started to break and the mirrors popped right off. Once I had five frames I had an idea to make a box style lamp! I knew I would need four frames for the sides, and one for the top.


I found a great spray paint (montana brand) from Home Depot that I thought would help make this lamp look sophisticated and sleek. I used a high sheen finish so it would look more high-end. I also found some long beads in the jewelry district and spray painted them the with the same gold finish. I let all the pieces dry for about six hours so they would be easy to put together.


Next, I used super small nails to nail the mirrors together in a cube like shape, leaving the bottom completely open. I used four of the original mirrors as a base, then nailed one on top. Once that was done, I found some tiles in the sale area at Home Depot. I was able to get huge sheets of tile for under $5.00 each. I glued them on in a random pattern along the outside of the frames. I covered the open squares from the inside with a very sheer flame resistant fabric.
(Where the mirrors originally were.) Make sure to only cover the SIDES with fabric so that both the bottom and top are open.
(This is the style of tiles I found at Home Depot.)


Once I was done gluing on all of the tile, I also glued the long beads I originally spray painted along with the frames to the inside of the lamp. High enough up so that the glue would not be exposed. I used a found chain on the top of the lamp and nailed it into the top frame directly, so that I could use it to hang the lamp. I chose a thick chain so it would be sturdy!

I bought a light cord from Home Depot as well, and fed it thru the top. I then attached an energy conscious light bulb.


I absolutely LOVE my new chandelier and I'm so inspired by unconventional shapes and materials for light fixtures. I will definitely be exploring more DIY lamp projects!